|
This is my second lidded project. I glazed the vase by covering it in white glaze and then painting blue and green stripes around it. While making this project I learned how to make a different kind of lid. This lid is a planter without an open cylinder on the inside. I used shapes to make lines around the vase with the blue and green colors on the outside. I also used harmony with the contrasting colors, because they blended in and work well with each other. Overall, this project show that I am willing to try new techniques to make my projects a bit more unique. 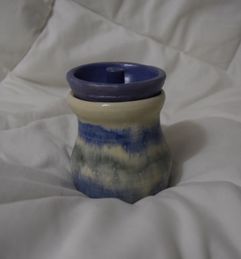
0 Comments
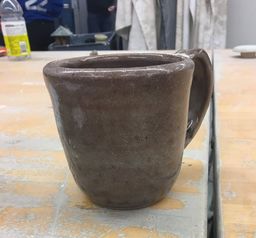
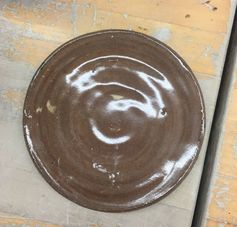
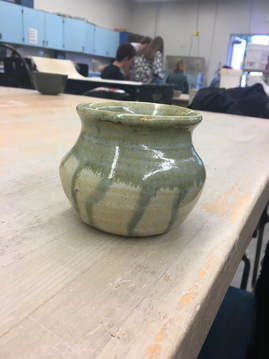
This is my vase, and it is a theme project. For my theme, I went with a blue, white and green linear dripping look. I glazed it by covering it in white and then covering the inside with blue and green glaze around the bottom of the outside. I learned how to make the glazes combine and drip during this project by adding white as the base coat. I used shape to make the glaze of this project by adding lines of color to the outside. I also used unity to combine the different colors into one blended piece. This project shows that I am able to manipulate my glazes into making them look how I want to. 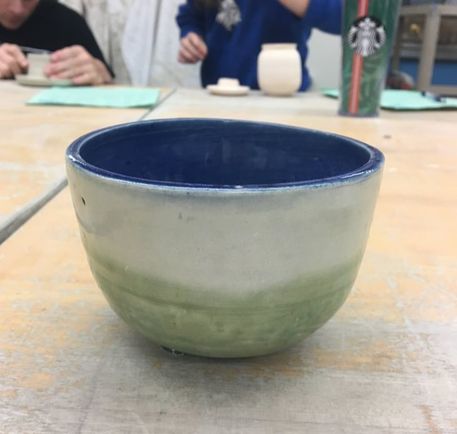 I did my set of three project with a matching plate, mug, and bowl out of yellow and red clay. I glazed it by dipping them all in clear. While making this project I learned how to mix clays to make them looks good, although it is hard to tell because I used more red clay than yellow. I used shape with the different colors of clay to make lines around the project. I also used movement because the colors make a swirling pattern on each project. This project shows that I am able to experiment with multiple clays at once, and that I'm a risk taker for making three projects at the same time doing it.
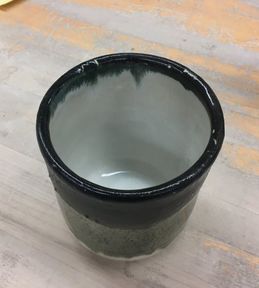
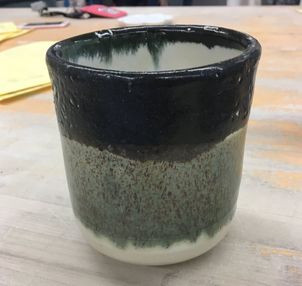
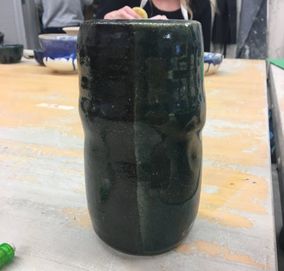
 I made a very tall project with seamix. I glazed it with three different colors in horizontal lines. The top is black, then scrap green, and white. While making this project I learned how the gas kiln affects glaze. There were some flaws within my projects glaze at first, but I plan on putting it back in the glaze kiln. In this tall project is value, with the dark to light colors. It starts with black and then ends with white. These stripes also show a pattern, because the shape and size of the lines are continuous. Finishing this project shows that I have patience because I have to fix my glaze and it takes a lot of time.
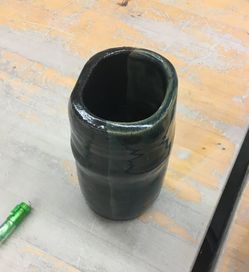
This is the frankenpot that Sean and I made. It is dipped in half green, half black glaze. While making this project I learned that you can use a spoon to mold the clay, henceforth why we have an oval- looking project. We used shape while creating this piece by creating sharp lines where the different glazes start and stop. We also used contrast in our glaze to make the pot look have two distinct faces. By successfully creating this project it shows that I am able to work well in a team.
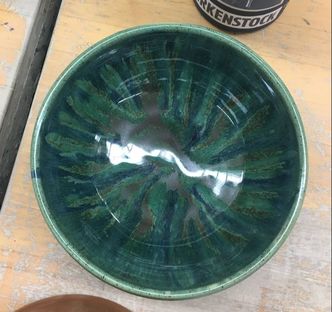
This is my second large bowl, It is made with scrap blue, white, and green glaze. While making this, I learned how to be more careful with seamix because it is much softer than vashon white. I used lines with the dripping glaze on the inside of my bowl which creates a focus point in the middle. I also used rhythm with the different colors dripping on the inside, which gives the effect that the pattern will continue. The many colors and layers of glazing on this project show that I am very adventurous when it comes to making my projects.
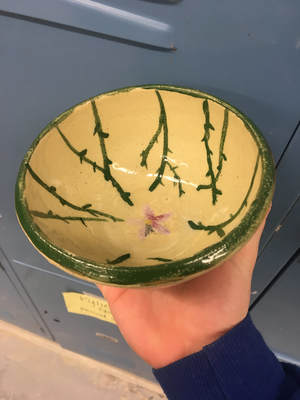
This is my first large bowl. I used shadow green on the inside of the bowl, and splattered scrap blue onto the outside, dipped it in white, and then splattered more shadow green around the side. While making this bowl, I learned a new technique of using a whisk to make a splatter effect with glaze. I used value, with the light color of the white, and the dark colors of the shadow green and scrap blue splatters. I made a pattern with the splatters, although they aren't quite uniform. This project shows that I am adventurous with my art because I am willing to try new techniques- such as with my glazing. This is a small, green and white bowl I made as an extra project. It was supposed to be one of my large bowls but I trimmed the lip too far down. I glazed it by dipping a portion in scrap green and cobalt, along with clear to make the white of the seamix apparent. While making this project I learned that I need to be more careful while trying to trim the top of my projects. I used the glaze to create shape in the center of the bowl. I also used movement in the way that the colors come together so that the viewer's eye is focused at the center of the bowl. This piece is an important contribution to my creation because it is one of my more creative projects. It shows that I am progressing as a ceramic student. 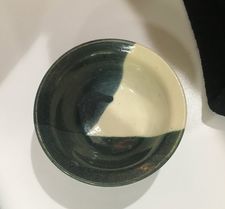 This is my planter. It is about 4" by 4". I glazed it by painting on the red glaze. There was not enough in the bucket for me to dip it in. I learned how to correctly pull the wall while making this project, because before I kept messing it up and had to restart many times. I used space in this project because I had to have holes around the bottom of the wall for water to come out of. I also used harmony with the base below the wall and the wall itself flow together to create one piece. This project is important because it shows how I persevered through a lot when I was having troubles pulling the wall, but I finally got it! 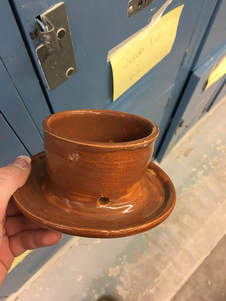 For my choice project I decided to make a plate. At first, I started to make a planter, but then I messed up the pulled wall so I cut it off. It then resembled a plate, so I decided to keep it. I glazed this by covering it in clear glaze, letting it dry, and then using water color paints to make the designs. Overall, I learned how to make a plate in this process. I used color to define lines and shapes within my plate. I also used a lot of pattern to make the design because I had to repeat a lot of lines and other shapes. This plate is important because it shows that I can turn a ruined project into something salvageable. 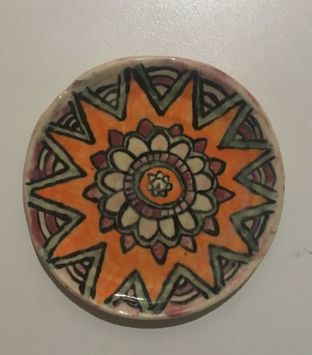
This is Jenna, Sean, and I's group coil. It is green after we used the scrap green glaze, and the books on top are cobalt. While making this project, I learned how to better secure two pieces together by slipping and scoring. We used texture on the books to create titles, giving the piece more dimension. We also used a pattern with the books to emphasize texture. This piece shows that we appreciate our teachers, especially Mrs. Murphy, who this coil pot was made for. |